Expert Advice on Upgrading Your Home’s Electrical System in Tampa Bay

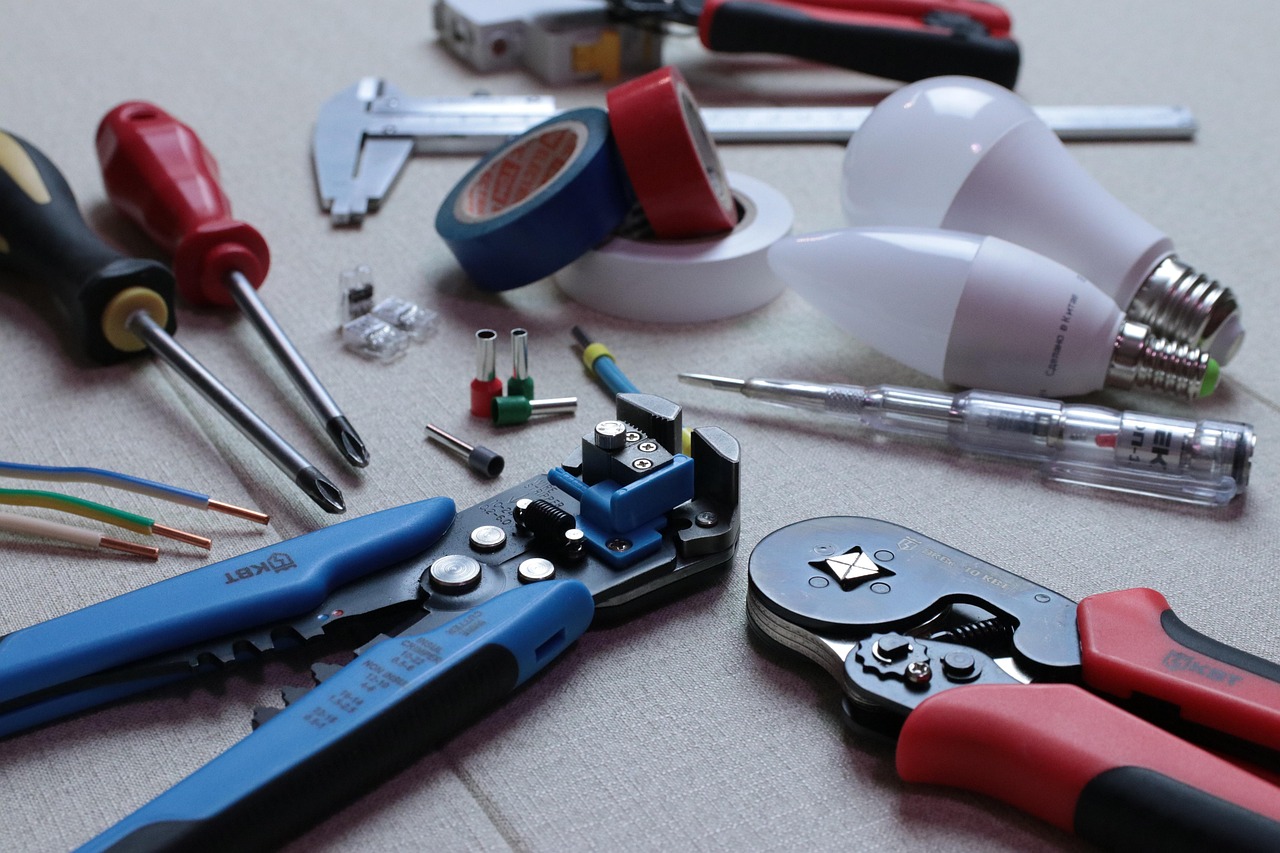
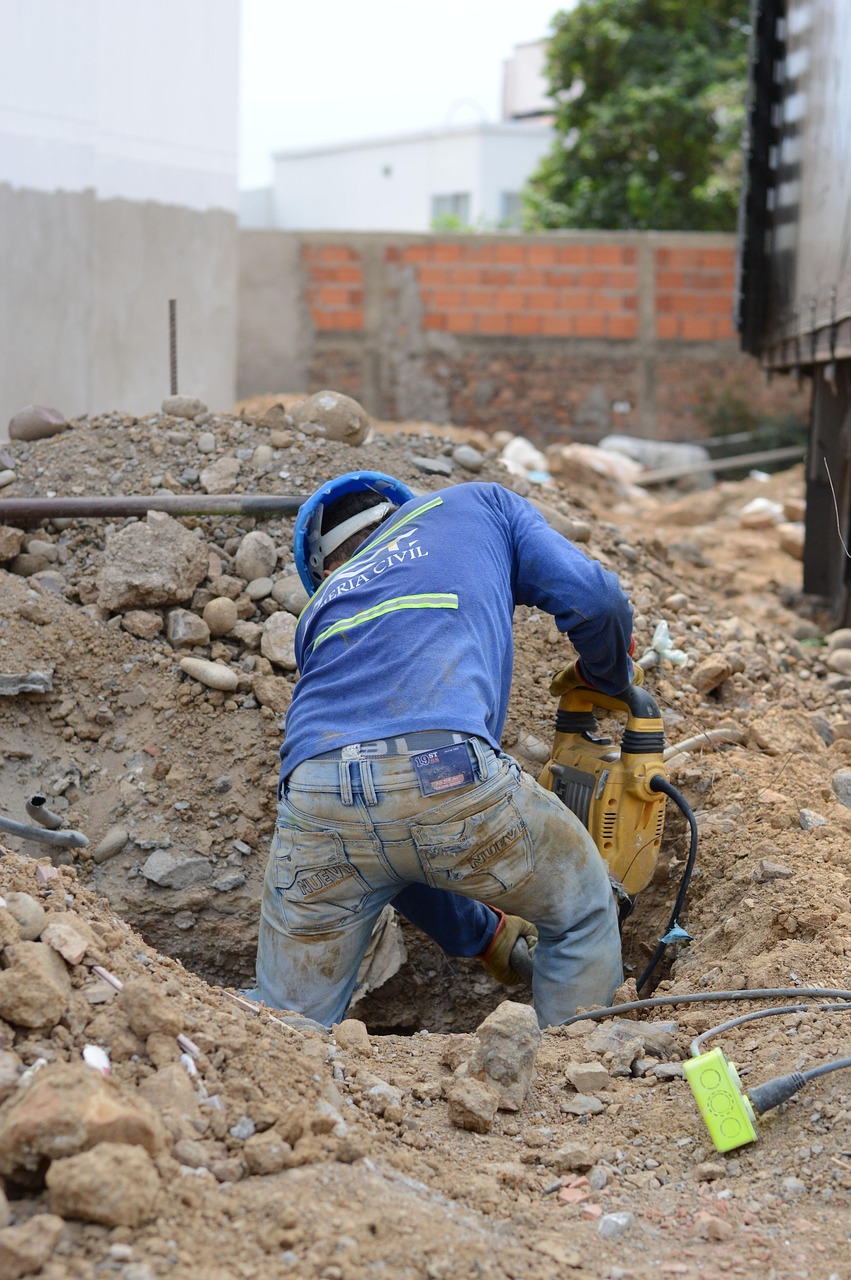
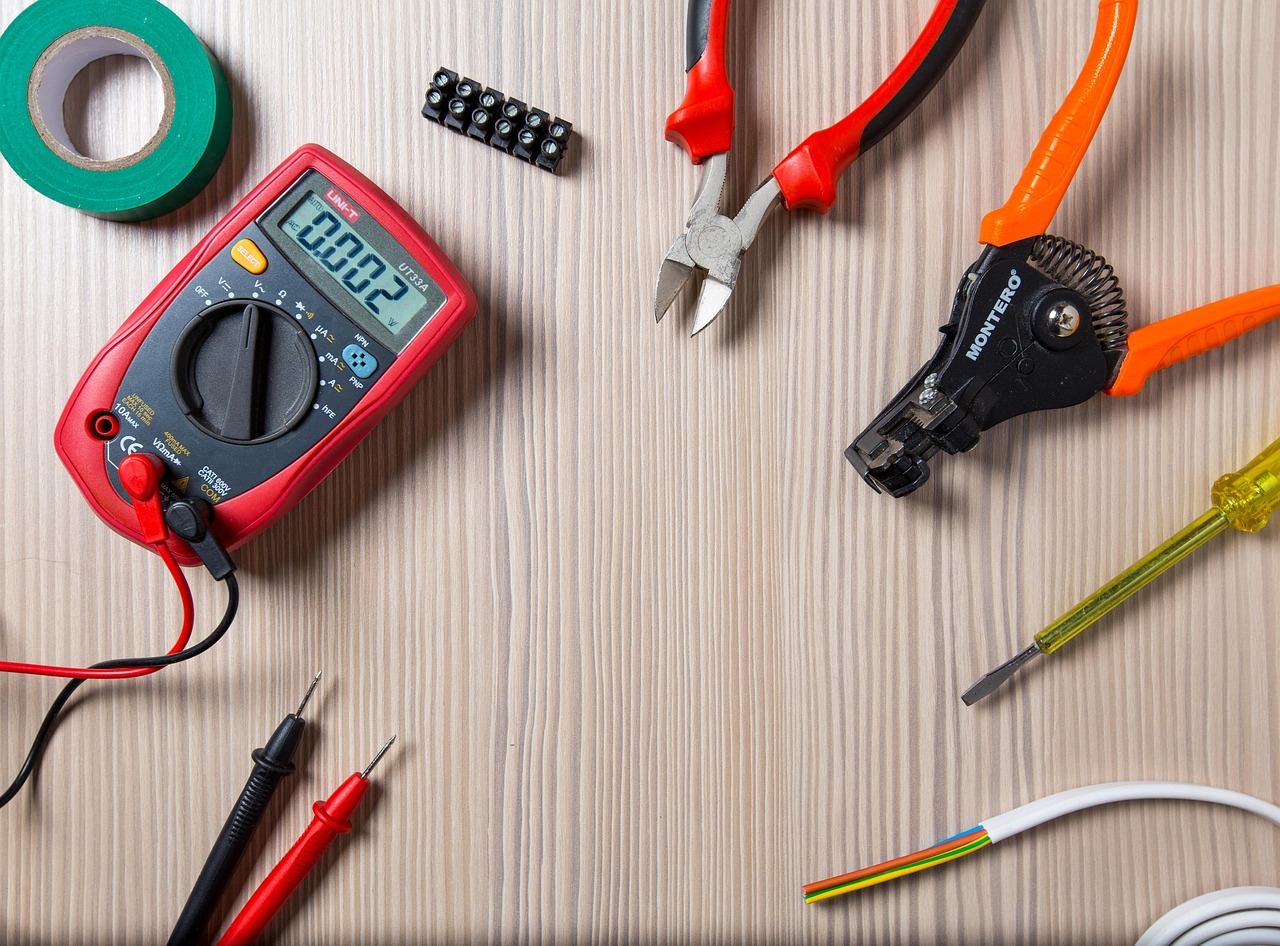
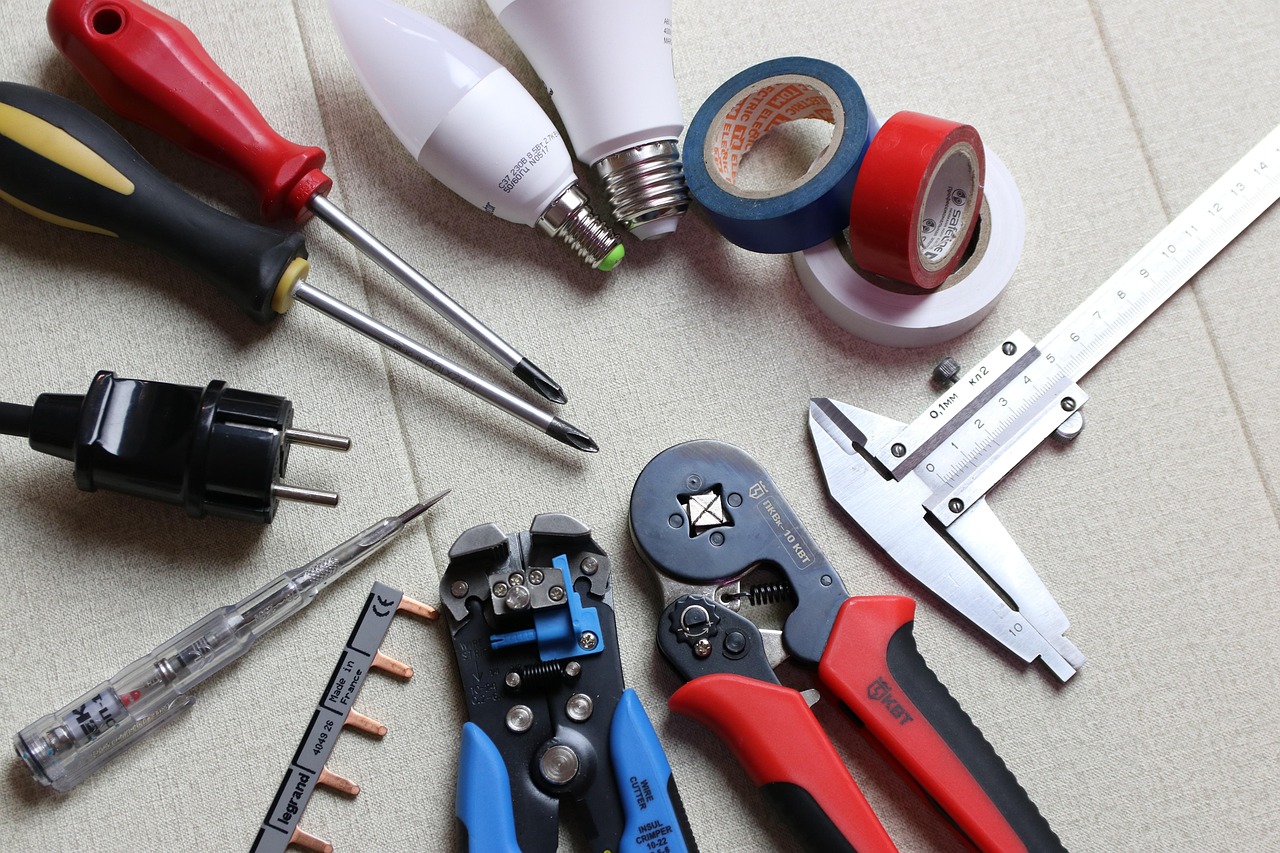
TL;DR: Wondering how to modernize your outdated Tampa Bay home electrical system? This guide offers expert insights into upgrading your wiring safely, efficiently, and affordably. From identifying signs of an old electrical system to understanding modern options and finding reputable local electricians, we’ve got you covered. Why Upgrade Your Home’s Electrical System in Tampa Bay?…
Read More “Expert Advice on Upgrading Your Home’s Electrical System in Tampa Bay” »